Table of Contents
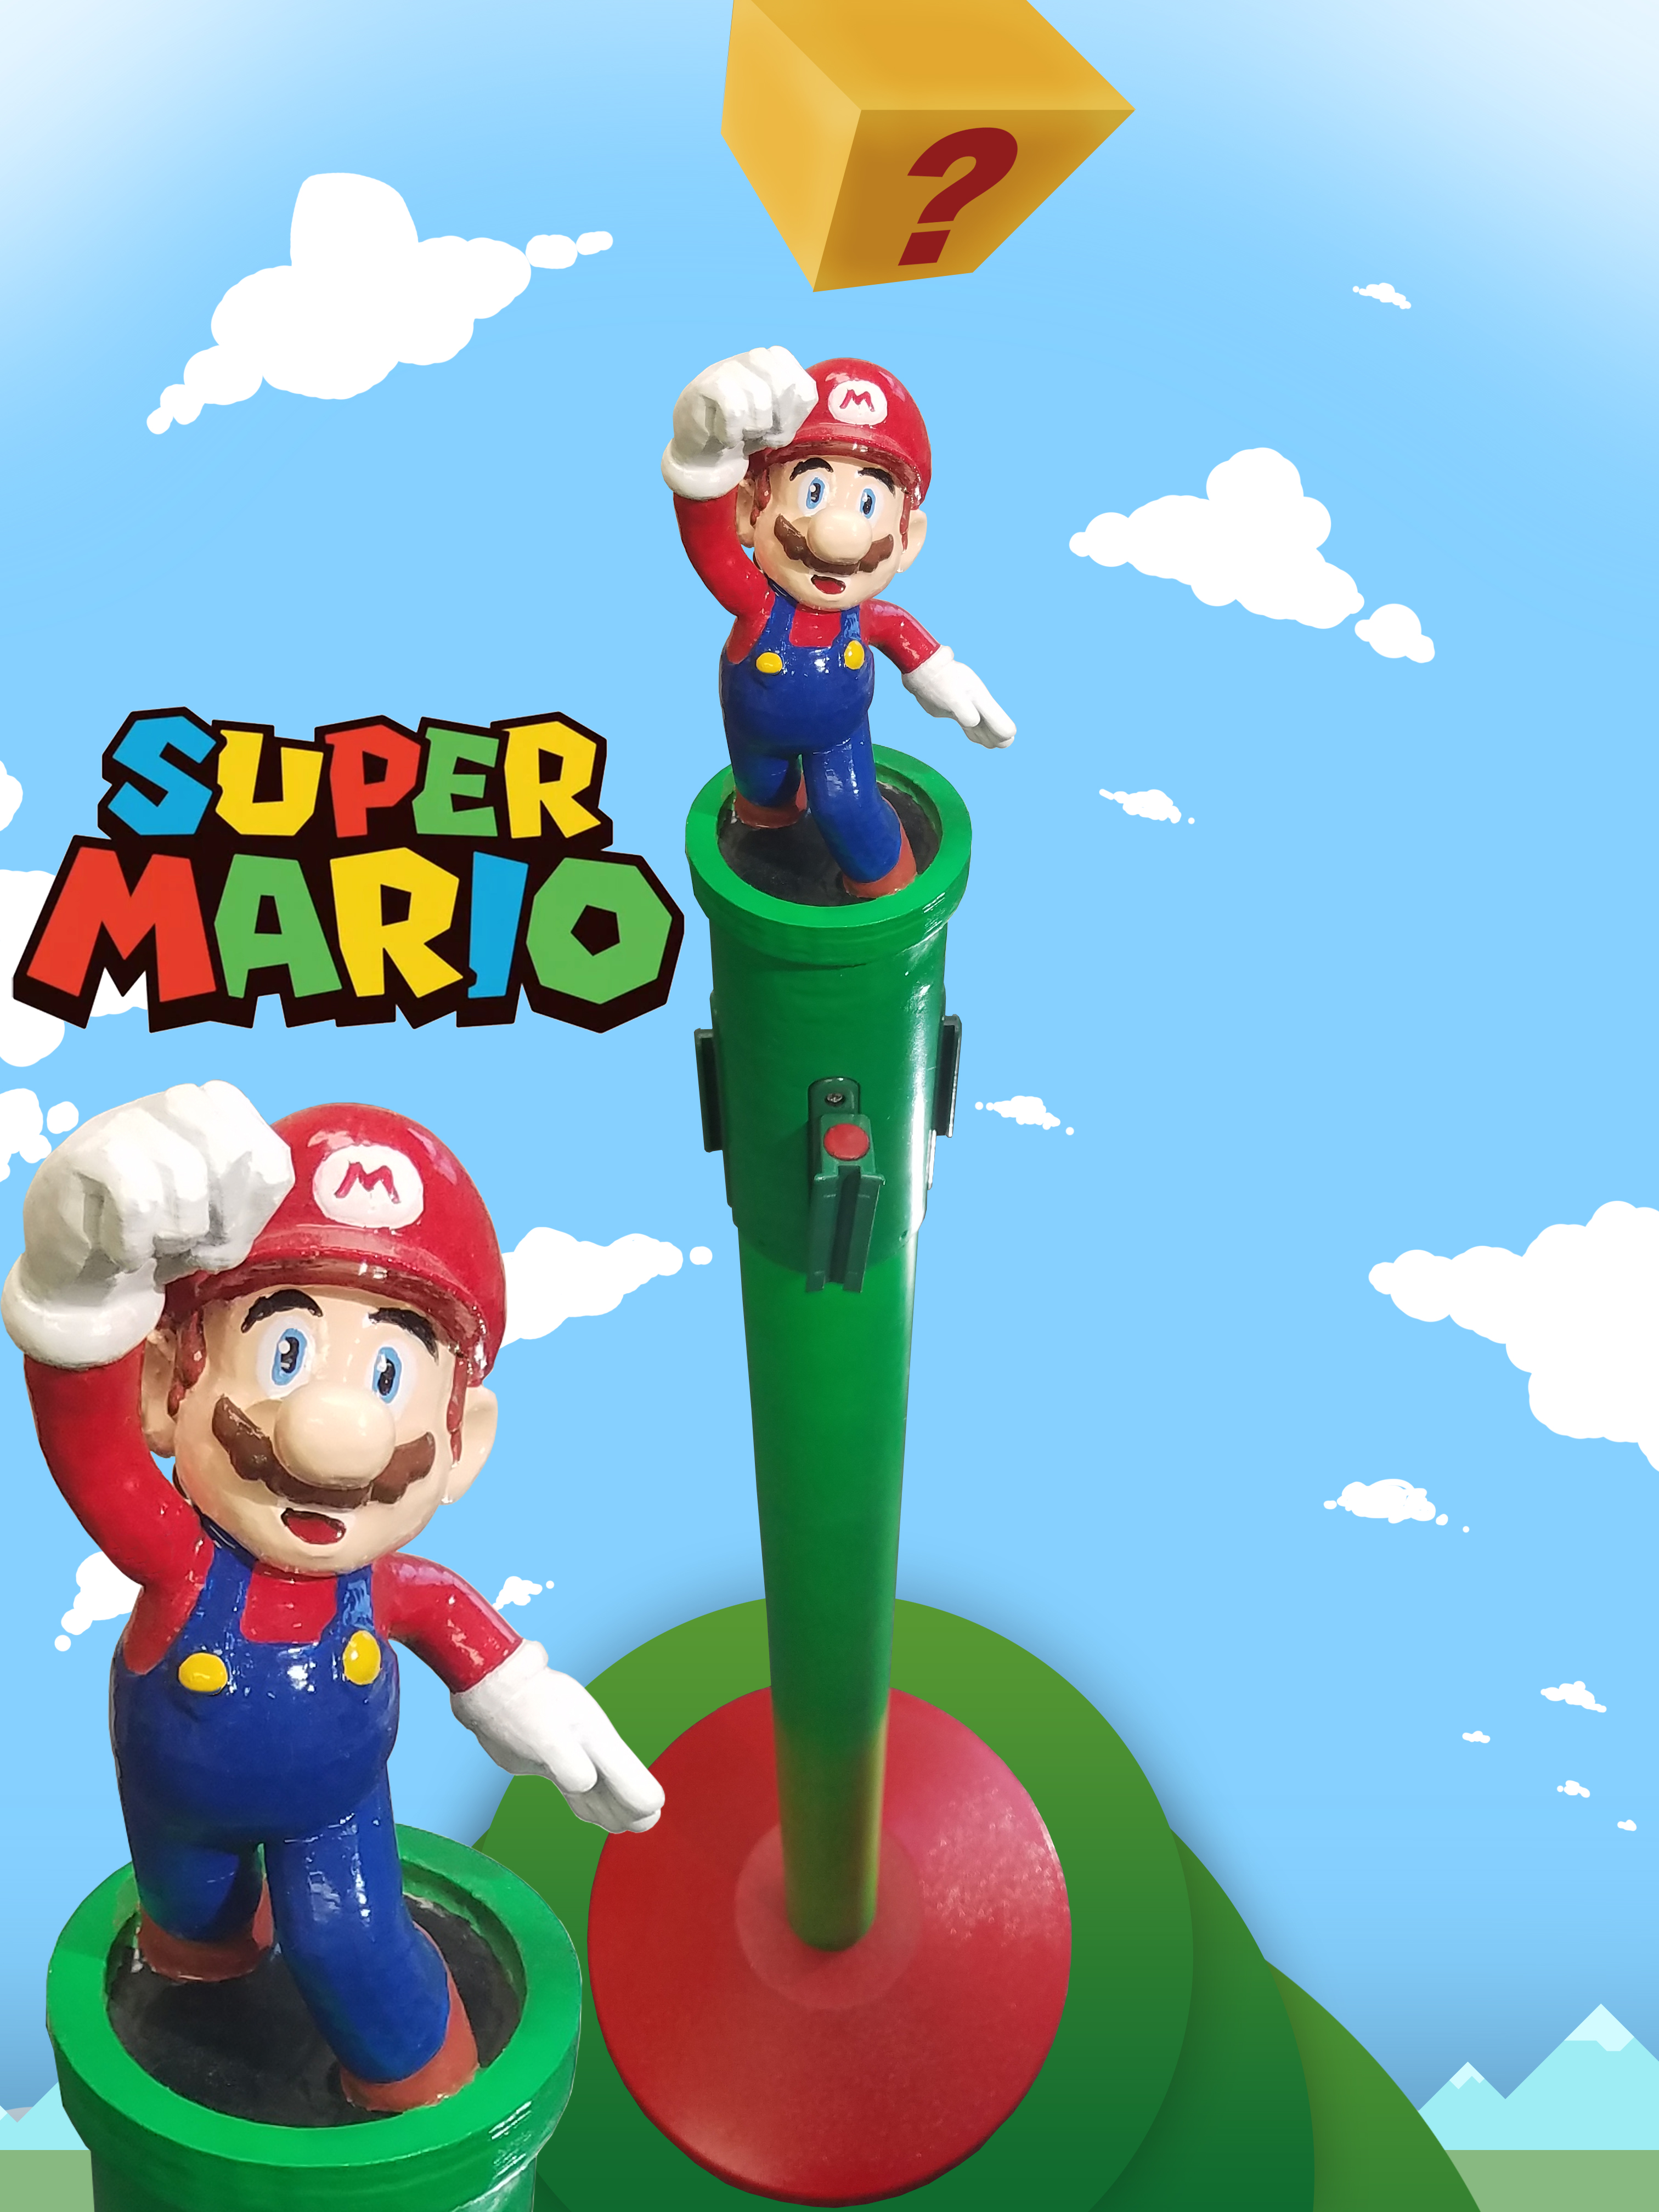
Our Journey in Making our Custom Super Mario Stanchion
A couple months ago I got into 3D printing, having seen several great videos on youtube from creators such as the3D Print Nerd and The Makers Muse, I took the plunge and purchased a LulzBot Taz 6 and started making my own very primitive 3D prints from things I found on Thingiverse. It took me a little bit of time to fine-tune the process to the point where all the prints started coming out looking good. Just a quick shout out to the youtube community for the wealth of video tutorials and explanations they make freely available, without them none of this would have been possible.
We Took the Red Pill
Ive been asked why I decided to make this thing, and aside from being a HUGE Nintendo and super Mario fan personally, I really wanted to do something exciting in the crowd control industry. Stanchions and the industry as a whole are pretty boring, to be honest, and once I got thinking about the possibility of using 3D printing to liven things up a bit the cogs really started spinning in my head. I started to think of the “how” and the “what”, what could both go well with a stanchion and be cool enough that I would enjoy making it as a side project. One image kept popping into my mind.
The iconic staple of the Super Mario games I grew up playing, the green tube/pipe as I call it. This thing was in everything from my original Gameboy version (which I still have and play, cant beat the classic) to my N64 version of Mario64. Bearing a striking similarity to the tube of a stanchion, I thought this would be a perfect fit for my little project. I started thinking up ideas of how this would play out and how the final thing would look.
The Idea & Printing
There were several revision and ideas which I scrapped until I came across a Nintendo Amebo of Mario at a local target store here on Long Island, showing Mario jumping out of the green pipe just like in the games. That’s when I knew what this thing needed to be, and got started working on the 3D print to essentially make a giant Amebo on top of a stanchion.
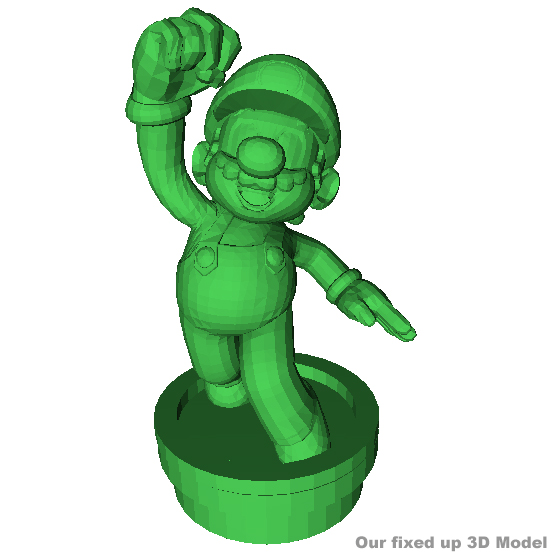
After some initial Blender 3D failures, I found a fan board with some great 3D models of Mario from the early Nintendo 64 era and started working on making those “print ready”. The models were never meant to be printed and had more errors than I care to recall, but after several hours in Blender and with the help of some 3rd party software I was able to get a printable model which didn’t have more holes than swiss cheese. After a few more hours of pose work and adding in the tube portion which I scaled to the diameter of our stanchions, it was ready.
Testing
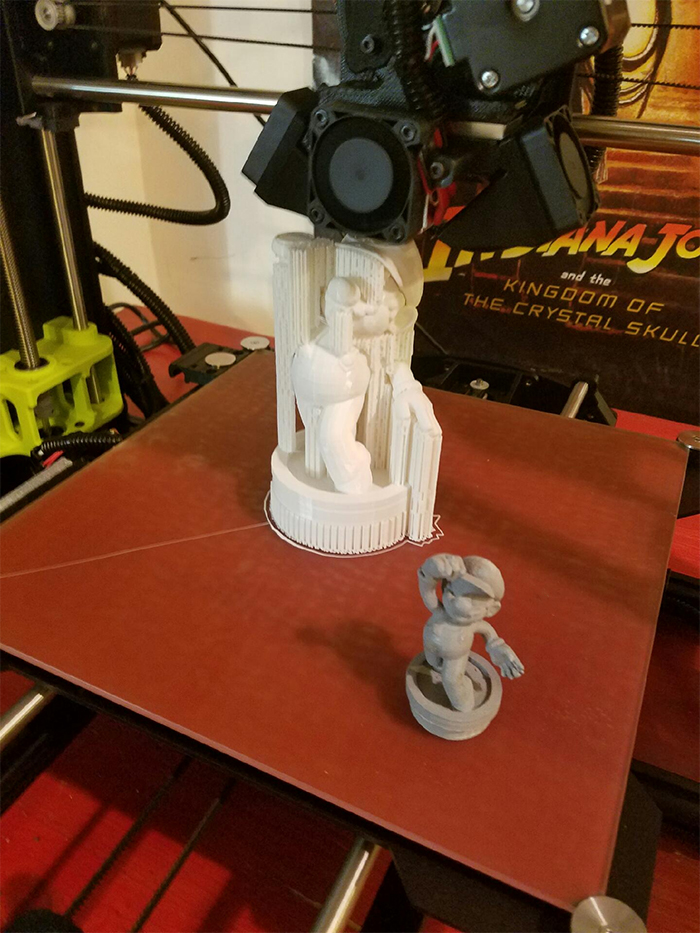
Since the final print would turn out being 6.5″ tall I decided to do a quick test print, this little guy was the result. This one took around an hour to print compared to the 24 hour print time of the final topper.
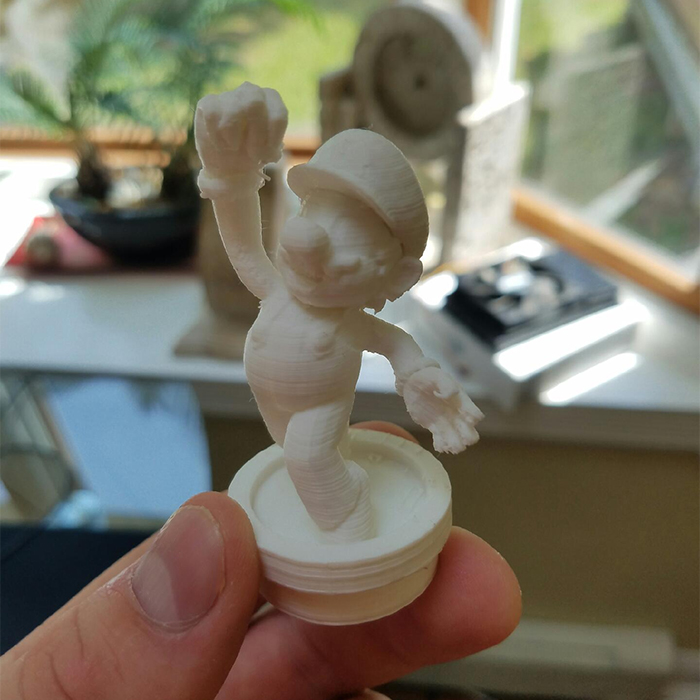
Once everything was ok (there were issues with the model still which I had to fix) i started the process of printing the final full size topper in PLA, which I chose since it was pretty easy to work with and I didn’t need to put up and enclosure for the 3D printer. I placed the smaller copy on the print bed so you could see the size difference.
The Build Begins
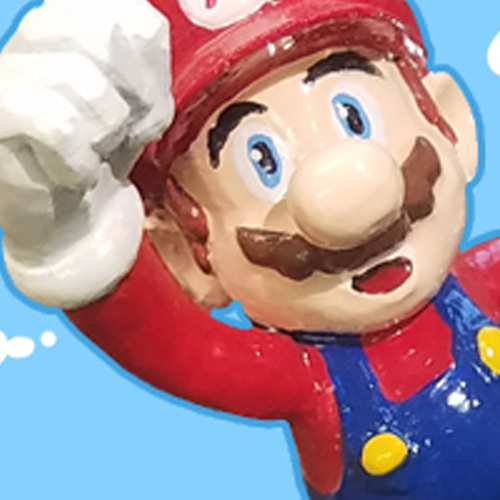
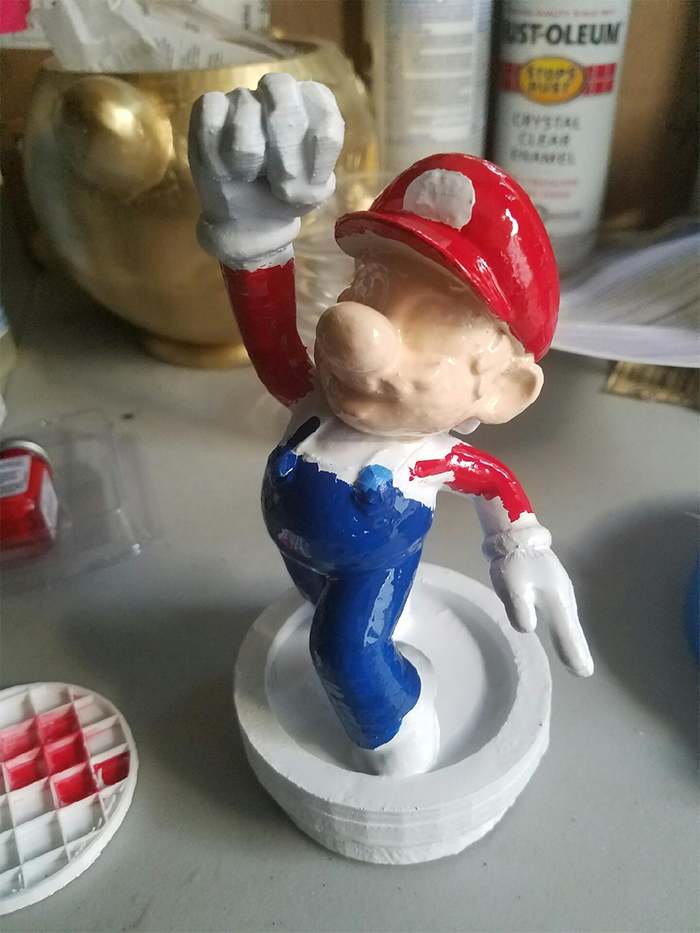
Once everything was printed I and sanded down I threw a couple coats of white primer on the print to smooth things out a bit. The next step was painting, I used a mixture of various model paints I picked up at the local Michael’s store, these had a glossy finish. I then used various spray paints on the stanchion tube and base to match the Mario theme of the topper. I used some automotive putty to attach the print to a steel adapter which I sanded down to achieve the illusion of it all being one continuous piece.
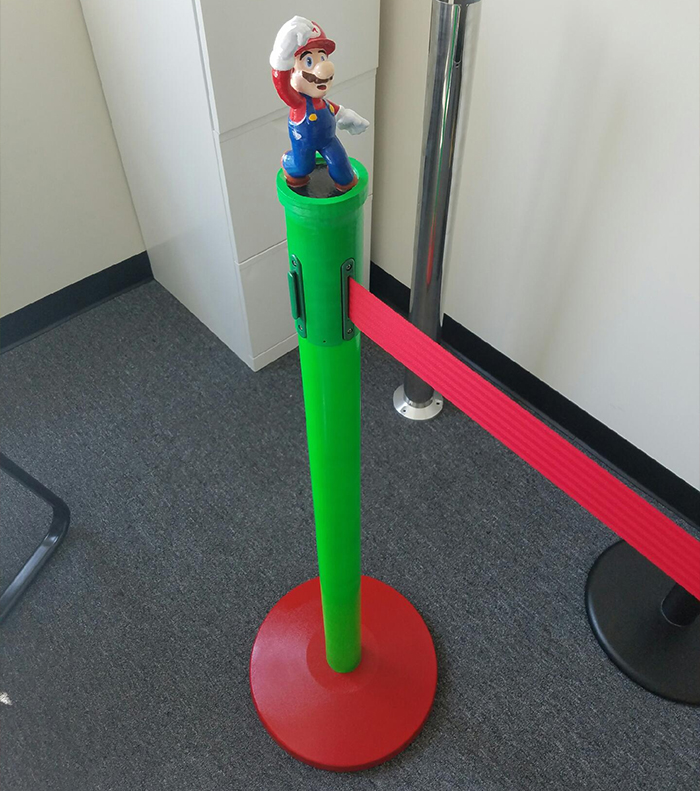
And here it is on display in our Office, we obviously had to throw a red belt with a custom painted belt end on it to match. Perhaps on future builds, we will have the belt printed also to match the theme of the post (Mario level 1 running across the entire belt horizontally?).
Conclusion
Overall this was a very pleasant built, everything went pretty much according to plan, and I would definitely like to make more builds like it in the future. With BlizzCon coming up soon I’m thinking about doing an overwatch theme stanchion next, and pull out all the stops for it, reach out on social media if you have any suggestions, you can find our link in the top right corner on every page.
If you would like to learn more about stanchions check out the wiki here, and if you want to check out our basic customization tool you can find it here.
