Table of Contents
Efficient Transport Cart : 12 Post WeatherMaster Cart
In any large event or site management setting, the importance of efficient stanchion storage and transportation cannot be overstated. This is especially true when dealing with WeatherMaster stanchions, known for their wide and robust 19 inch diameter base, which can pose a challenge for storage and transportation. Enter the 12 Post WeatherMaster Cart, an efficient transport cart that provides an innovative, compact way to store and move up to 12 WeatherMaster stanchions safely and efficiently. This post will cover the features and step by step setup of this invaluable tool for event and safety professionals.
What is the 12 Post WeatherMaster Cart?
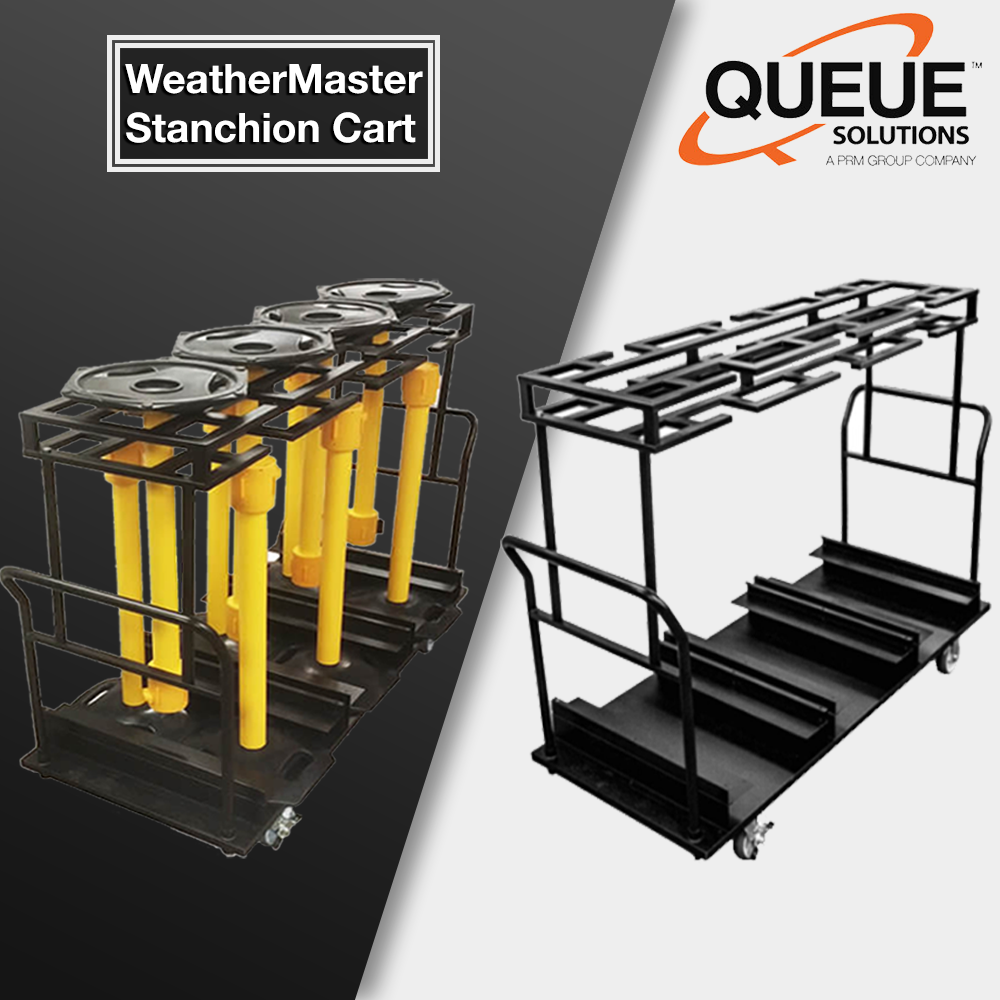
The 12 Post WeatherMaster Cart is built to store and transport WeatherMaster stanchions, whose larger base makes them incompatible with standard stanchion carts. The WeatherMaster Cart solves this problem with its unique standing and hanging storage system.
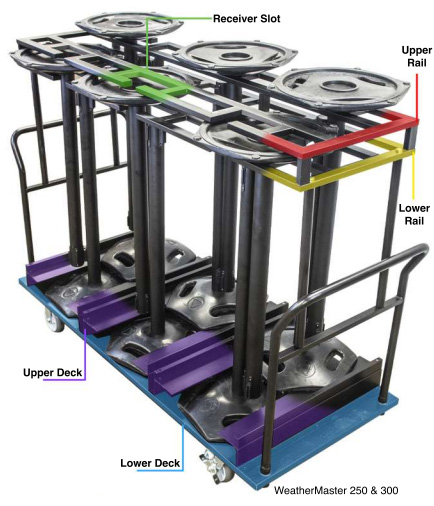
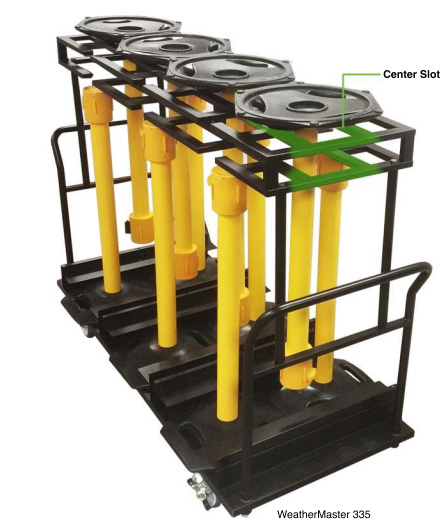
The cart features a two tier design, with a lower deck and an upper hanging rack, allowing stanchions to be stored vertically and saving space. This efficient transport cart ensures it can accommodate up to 12 stanchions without sacrificing maneuverability. It’s even slim enough to fit through standard doorways (with the exception of the WeatherMaster 335 model.
The storage cart also features four wheels, with two steering and two locking wheels, providing both mobility and stability. The locking wheels prevent rolling while loading or unloading, and the steering wheel allows the cart to be navigated through tight spaces with ease. The durability and versatility of this cart make it a must have for facilities that use WeatherMaster stanchions regularly.
Step-by-Step Setup Guide
Setting up the 12 post WeatherMaster Cart may be straightforward and with the instructions provided it can be assembled efficiently. Follow these detailed steps to ensure proper setup and usage:
Step 1: Attach the Wheels
Attach the 4 wheels to the bottom of the lower deck using the M10x25 bolts making sure the wheel plates are facing in the correct direction. Please note to attach the locking wheels to the same end of the deck and not diagonally across from each other.

Step 2: Attaching Rails
With the wheels firmly in place, set the lower deck on its wheels. You should now have a stable base for the cart. Using M5x15 bolts, attach the upper decks to the deck supports. These upper decks will provide a staggered storage solution for the WeatherMaster. Tighten all the bolts and check for stability, ensuring nothing is loose before proceeding.

Step 3: Installing the Handlebars
Next, fit the handlebars into the handlebar mounting holes at the end of the lower deck and attach using M12 bolts. These handles are essential for steering and navigating the cart, so make sure they are secure and fastened properly.

Step 4: Attaching the Top Rack
Attached the four top rack support rods to the handlebar cross beams using M12x45 bolts. Position the top rack onto the four support rods and attach using M12x45 bolts.

Conclusion
The 12 Post WeatherMaster Cart is the ultimate efficient transport cart for storing and transporting large WeatherMaster stanchions. Its standing and hanging design, combined with sturdy construction, ensures a smooth experience whether you’re moving stanchions across a venue or simply keeping them stored neatly in one place. With its easy setup and robust features, this cart will become an essential asset for any facility handling crowd control needs.
Be sure to check out our Youtube for more content related to our products
If you want to see more products like this one be sure to check out our other Storage Carts
If you liked this post check out our other post on Barricade Carts


