


Table of Contents
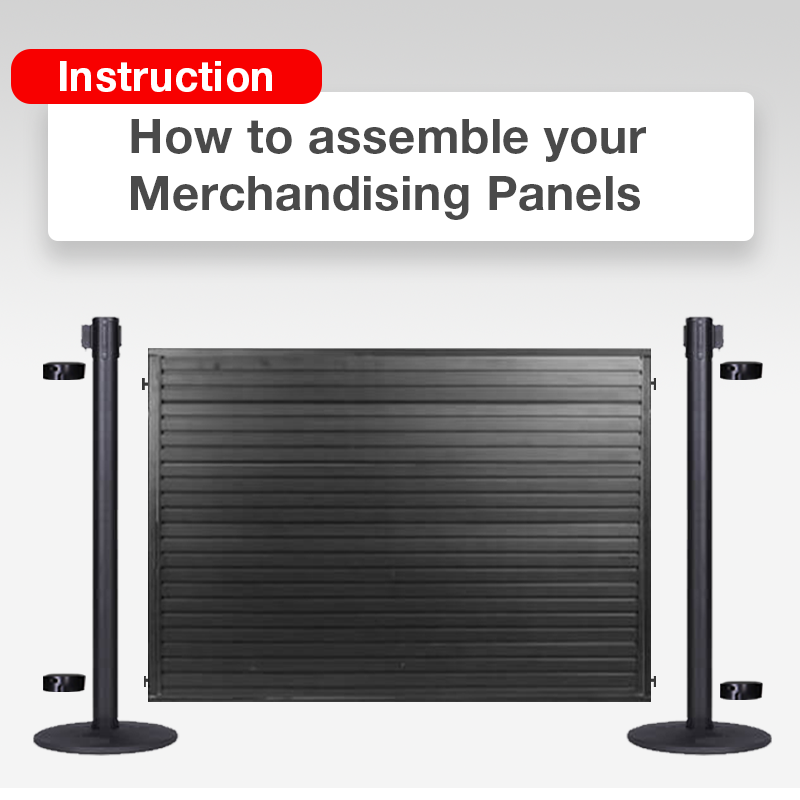
A Step By Step Guide: Assembling your Merchandising Panels
Setting up your merchandising display has never been easier with our user-friendly solutions. In this comprehensive blog post, we will guide you through the step-by-step process of assembling and setting up your merchandising panel, ensuring a seamless and impactful presentation that engages customers and boosts sales.
Step 1: Assemble Your Stanchions
The foundation of your merchandising display begins with assembling your stanchions. These operate as sturdy supports and are essential for maintaining the stability and structure of your setup.
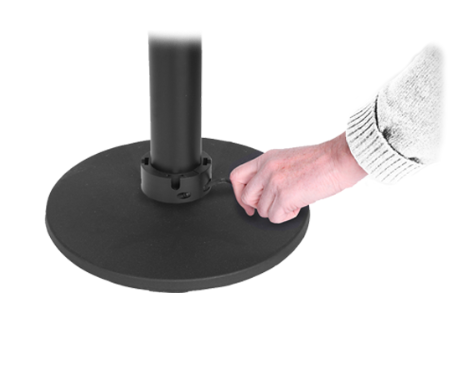
1) Place the base of your stanchion on the floor and securely attach the stanchion post onto the base bolt. The stanchion post must be of 2.5-inch diameter for proper compatibility with the merchandising panels.
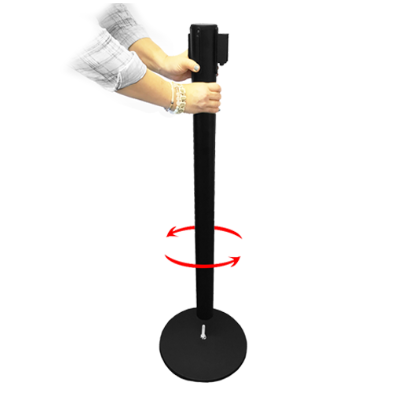
2) Ensure that the post is tightly secured onto the base to prevent any wobbling or instability.
[Note] If you already have a set of stanchions, you can skip this step and move on to the next phase of setup.
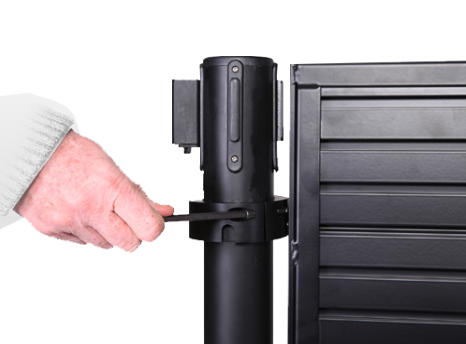
Step 2: Secure the Bottom Post Collar
The bottom post collar is a pivotal component that allows the merchandising panel to be attached to the stanchions as it serves as a support to keep the panel suspended. To securely attach the bottom post collar:
1) Slide the post collar down to the bottom of the stanchion post.
2) Make sure that the insert slots on the bottom post collar are facing upwards. These slots will serve as connection points for the merchandising panel.
3) Tighten the screw on the collar using the Allen key provided.
[Note] Ensure that both stanchions are equipped with the bottom post collar before proceeding to the next step.
Step 3: Slot in the Merchandising Panel
With the stanchions and bottom post collars in place, it’s time to slot in the merchandising panel. This step will create a secure connection between the two stanchions while holding the panel:
1) Carefully insert the lugs at end of the merchandising panel into the slots provided on the bottom post collars of the stanchions.
2) Once the panel is in place, tilt it upright, preparing to add the top post collar.
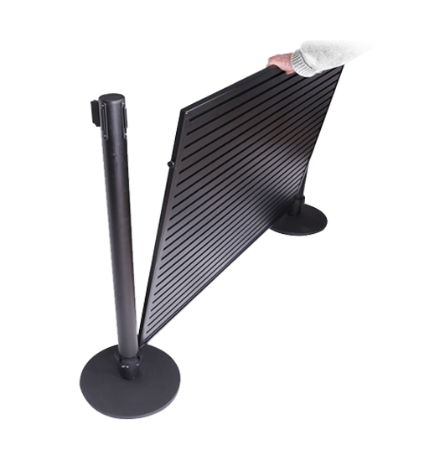
[Note] At this stage, it’s advisable to position your setup close to or at its final location, as relocating the panel and stanchions after the next step may require some disassembly.
Step 4: Secure the Top Post Collar
The top post collar plays a crucial role in maintaining the panel in an upright position. To secure the top post collar:
1) Attach the top post collar to the stanchion post, ensuring that the inserts points downwards.
2) Slide the post collar down so that the panel lug is inserted into the slots provided on the stanchion collar.
3) Tighten the screw on the post collar with the Allen key for a secure fit.
With the top post collar securely in place, your merchandising panel setup is now ready for accessories.
Step 5: Secure the Accessories
The final step involves enhancing your display by securing accessories that highlight and organize your products. Whether it’s hooks, shelves, or other designated accessories, securing them is a breeze:
1) Angle up and slide the chosen accessory into the designated slots on the merchandising panel.
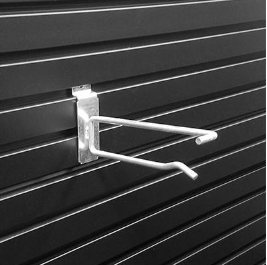

2) Adjust the position of the accessories as needed to achieve your desired display layout.
This straightforward setup method allows you to easily experiment with accessory placement and tailor your display to maximize its visual impact.
Conclusion
Setting up your merchandising display is a simple and intuitive process, thanks to our user-friendly design. By following these steps, you can seamlessly assemble and configure your merchandising panel and accessories. This setup not only engages customers during their checkout queue experience but also increases sales and enhances customer satisfaction. For additional information on merchandising panel setups you can download our instruction sheet or spec sheet here.